
Want to learn how to make your very own baby sensory blanket?
In this tutorial, I will show you how simple it can be to make a soft and cuddly baby sensory blanket. These small blankets make the perfect baby shower gift and are sure to be cherished for a long time to come. Their small size makes them great for carrying in the car or stroller as you travel. Babies will love the various textures that they can explore from the soft flannel fabric, to the silky or grooved gross-grain ribbons.
So gather up the following materials, get everything prepped, and join me as I walk you through making a baby sensory blanket!
Required Materials:
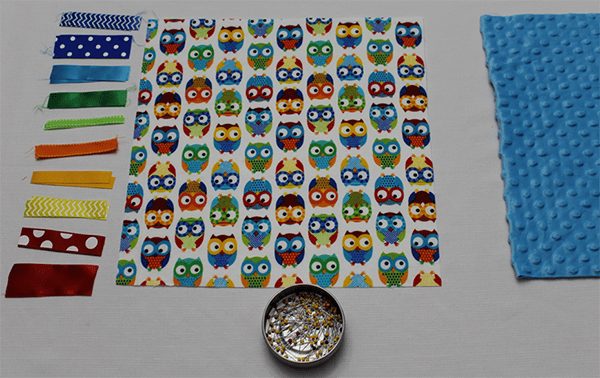
- Fabric: 1 flannel square and 1 minky dot square
- 20 pieces of ribbon (10 different types)
- Sewing machine (a walking foot if you have one)
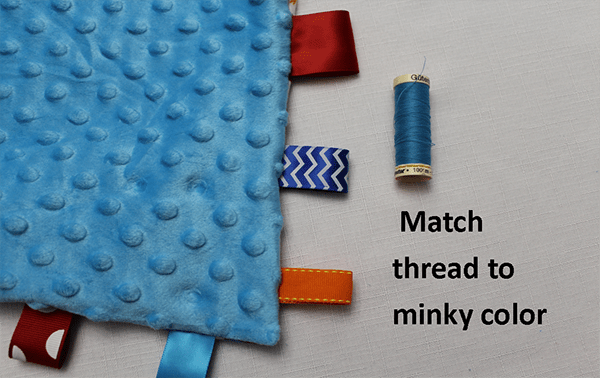
- Thread (matching the minky fabric color)
- Scissors and seam ripper
- Sewing Pins
- Turning tool or chopstick for turning the blanket inside out
Follow step-by-step through the process of making a baby sensory blanket.
Step 1
Lay the flannel square on a flat surface like a table. With the good side of the fabric facing up.
Step 2
Step 3
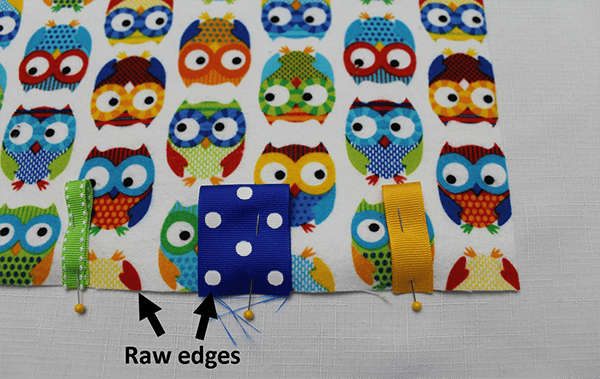
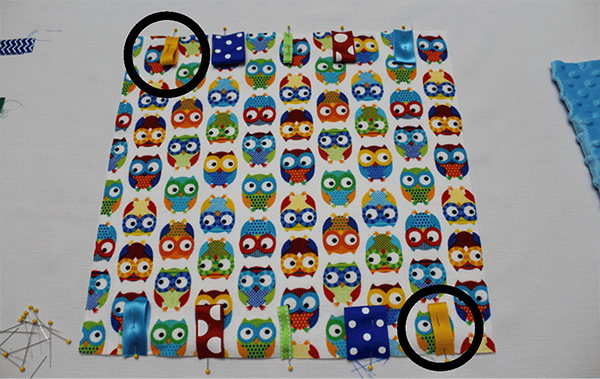
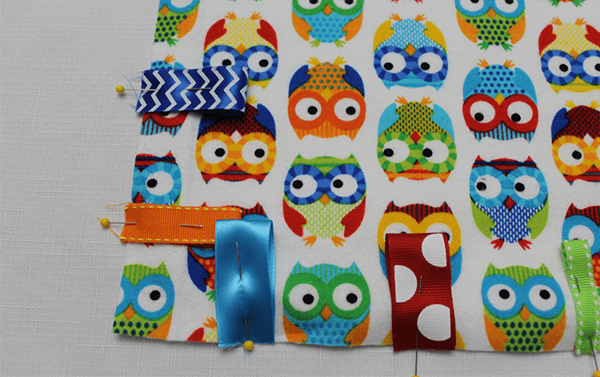
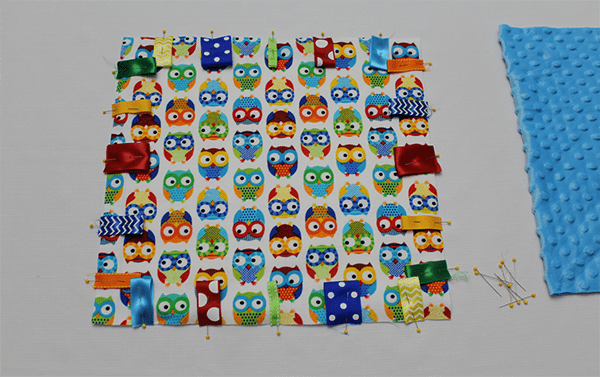
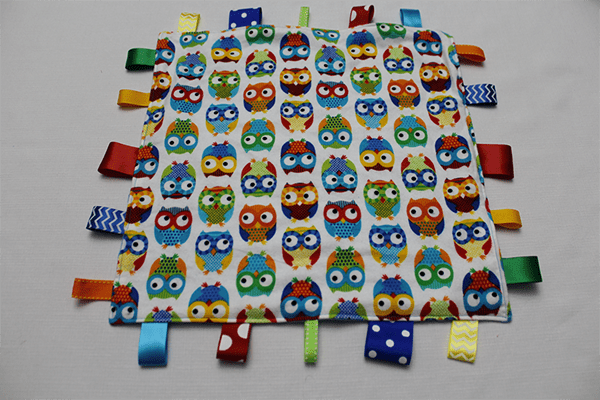
Evenly space out the ribbons on the bottom of the flannel. I purposely try to vary the textures, so a satin will be placed next to a grosgrain ribbon. I also try to vary the widths to add visual interest. Once you have all five ribbons pinned in place mimic the pattern on the top of the flannel. I usually reverse the pattern so that the ribbon in the lower right corner matches the one in the upper left corner.
Step 4
Use the remaining five ribbons and create a pattern pinning on the left side of the flannel. Then repeat the pattern on the right side. Be sure that your folds in the ribbon point towards the middle.
Step 5
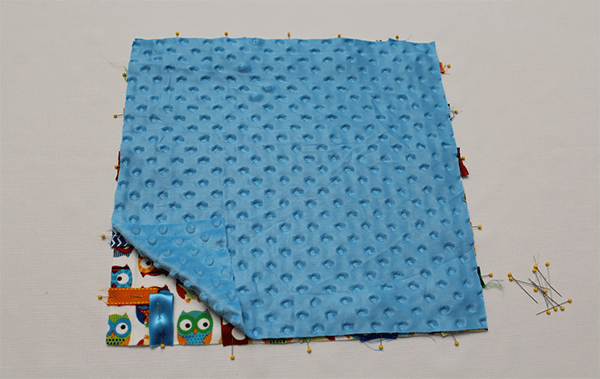
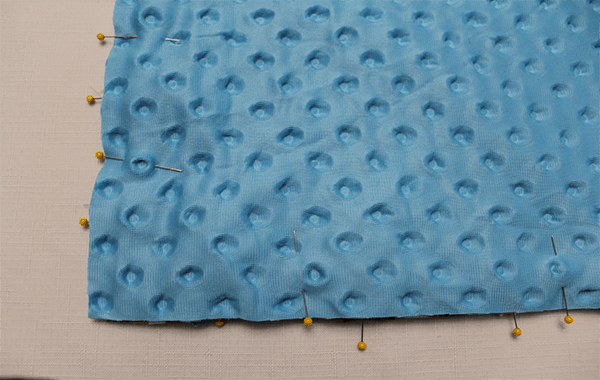
Lay the minky dot fabric on top of the flannel. Good sides together, so the dots will touch the flannel. Center the material and pin it to the flannel fabric.
Step 6
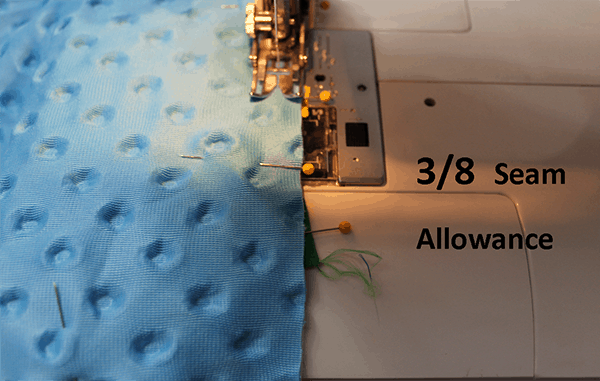
Sew together using a 3/8 seam allowance. On most machines this is the edge of the foot. Since minky is a stretchy fabric a walking foot helps the fabrics to move together at an even pace. Place your flannel fabric on the bottom and the minky fabric on top.
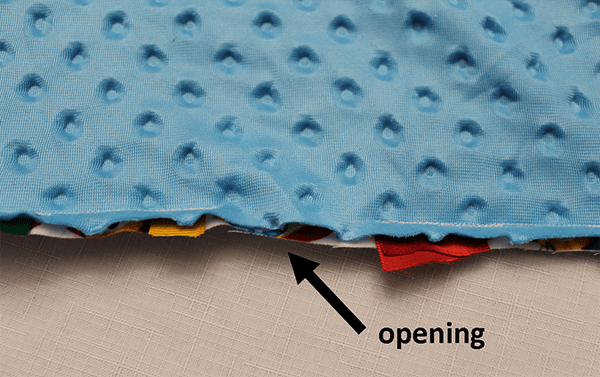
I look for a good size gap between ribbons on one of the edges. I start sewing on top of ribbon. Make sure you back stitch across the entire length of the ribbon and then sew forward again across the ribbon. Triple stitching each ribbon ensures it will not pull out. Sew all along the edges leaving an opening of several inches wide.
Step 7
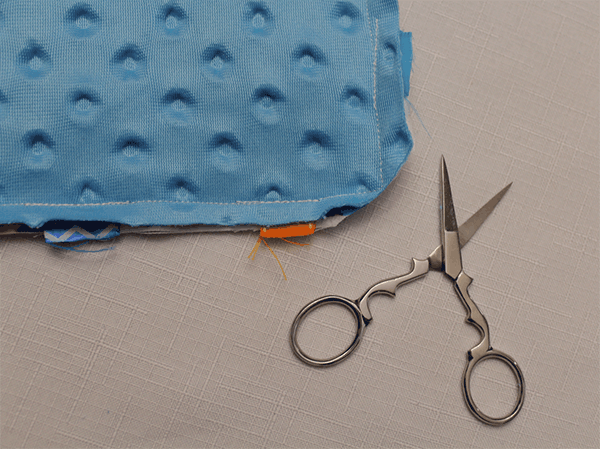
Using a scissors, trim the corners down. I usually round them, be careful not to cut your stitches.
Step 8
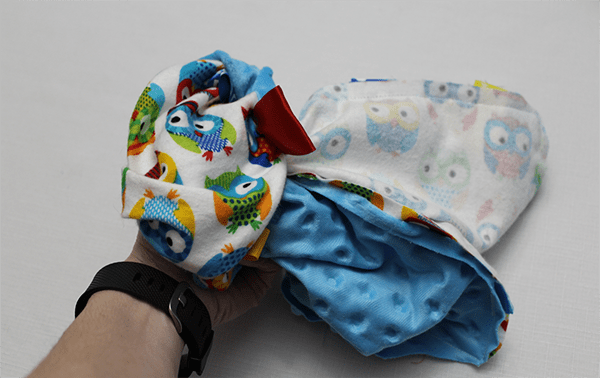
Using a turning tool or chopstick to push the blanket out through the opening you left. Once completely turned out, use your tool to fully push the corners out.
Step 9
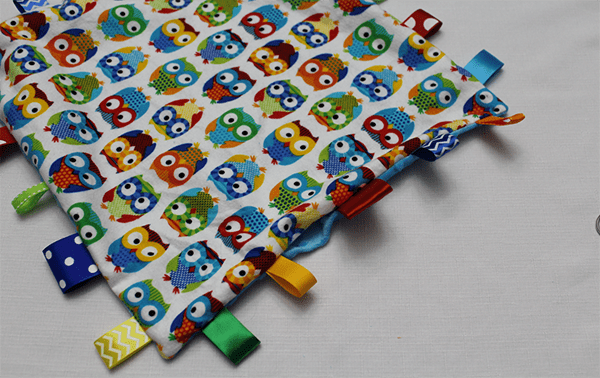
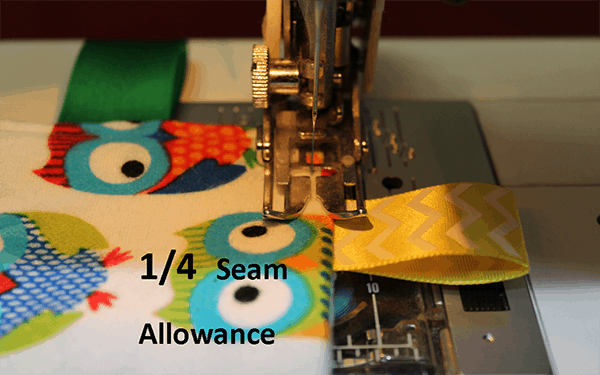
Pin the opening closed. Starting at the opening, sew a top stitch around the entire edge of the blanket. Use a 1/4 seam allowance. When done, lock your final stitches in place by reversing a few stitches and then stitching forward a few stitches.
Step 10
Pin the opening closed. Starting at the opening, sew a top stitch around the entire edge of the blanket. Use a 1/4 seam allowance. When done, lock your final stitches in place by reversing a few stitches and then stitching forward a few stitches.
If you have any questions or concerns about the steps to creating your tag blanket, please do not hesitate to contact me. I would be more than happy to clarify the steps or further explain.
Purchase one of my DIY Sensory Blanket Kits to get started with this tutorial on your own.